
- 2 poster board
- Craft Glue
- Glue Gun
- Glue Sticks
- 3/4 Yard of green felt
- 1 Square of Yellow or Gold Colored Felt
- Glitter Glue (Red, and Gold)
- 1 Foam Board (any color)
- Snowflakes or balls for decoration
- Utility Knife and blades
- Scissors
- Pencil
- Chalk
- Straight pins
- Spongee paintbrush for graft glue
- Popsicle stick or wooden skrewer
- Dog Bones or Candy
Green felt was on clearance at Walmart and everything else we found at the Dollar Store here in Baltimore. This Advent Calendar is rather large and it cost about $10.00 total to make (material only)
Directions
Making the Pattern

TREE: The tree itself measures---from the tip to bottom it measures 22" inches tall by 13 3/4" inches wide.
Fold poster board in half, length wise and draw tree as shown in picture. I used 5 petals. I had to draw it twice to get it "just right" ---it's only your pattern so don't be hard on yourself if you mess up. I was able to get the tree, my base and the dog bone all from one piece of poster board.
BASE: The base is 13.5" inches wide and 5" inches high.
BONE or STAR : The bone is 5"inches in length by 2" inches high (in center) or make a star if you want it for children.
POCKETS:
Measure on poster board to make a pattern. Cut 1 of each
Measure and cut 5 1/2" wide by 2 3/4" high. (This will be for pockets 1 and 2).
Cut 8 3/4 by 2 3/4" (This is for pockets 3,4,5,)
Cut 11" wide by 2 3/4" high (this is for pockets 6,7,8,9)
Cut 13 3/4" wide by 2 3/4" high (this is for pockets 10,11,12,13,14)
Cut 16 3/4 wide by 2 3/4" high (this is for 15,16,17,18,19,20)
Cut 19" wide by 2 3/4 " high (this is for pockets 21,22,23,24)
*There is no pocket for 25.
It will look like this

Now that you have your pattern you are ready to begin making your calendar....
 1.Once you get your pattern cut then lay your tree on top of your foam board and trace your tree. The foam board will be the base for your advent calendar.
2. Fold your green felt in half so that you have two pieces. Now lay your foam board on top and trace your tree BUT and this is very IMPORTANT trace your tree but after you trace it trace again but measure 1 1/2 inches so that you have 1 1/2 inches of space around your original trace line. When you get doner you will have two chalk lines and you will be cutting on the second line. This extra space will allow you enough fabric for when you glue.

3. Now cut your fabric. After fabric is cut you want to sandwich the foam board in between the two pieces of fabric. Using your craft clue and paintbrush glue the felt onto the foam board (the foam board is in between each piece of felt).
I rolled a piece of 10" felt to make it look like a shoe lace and then I glued it to the back of the tree so that it could hang on the wall.
5. Cut 5 pieces of green felt for your pockets. I didn't make individual pockets
Each pocket will be 2 5/8" so stick a straight pin and you can either eye it up or mark with chalk. I pinned the pockets onto the foam board and then I carefully marked with chalk and glued them onto the tree moving along very slowly using the glue gun. I used a skewer to push it down as it got quite hot on the fingers. Once dry you can add numbers. I drew them lightly in chalk and then just traced over it. ***Let sit overnight to dry fully.

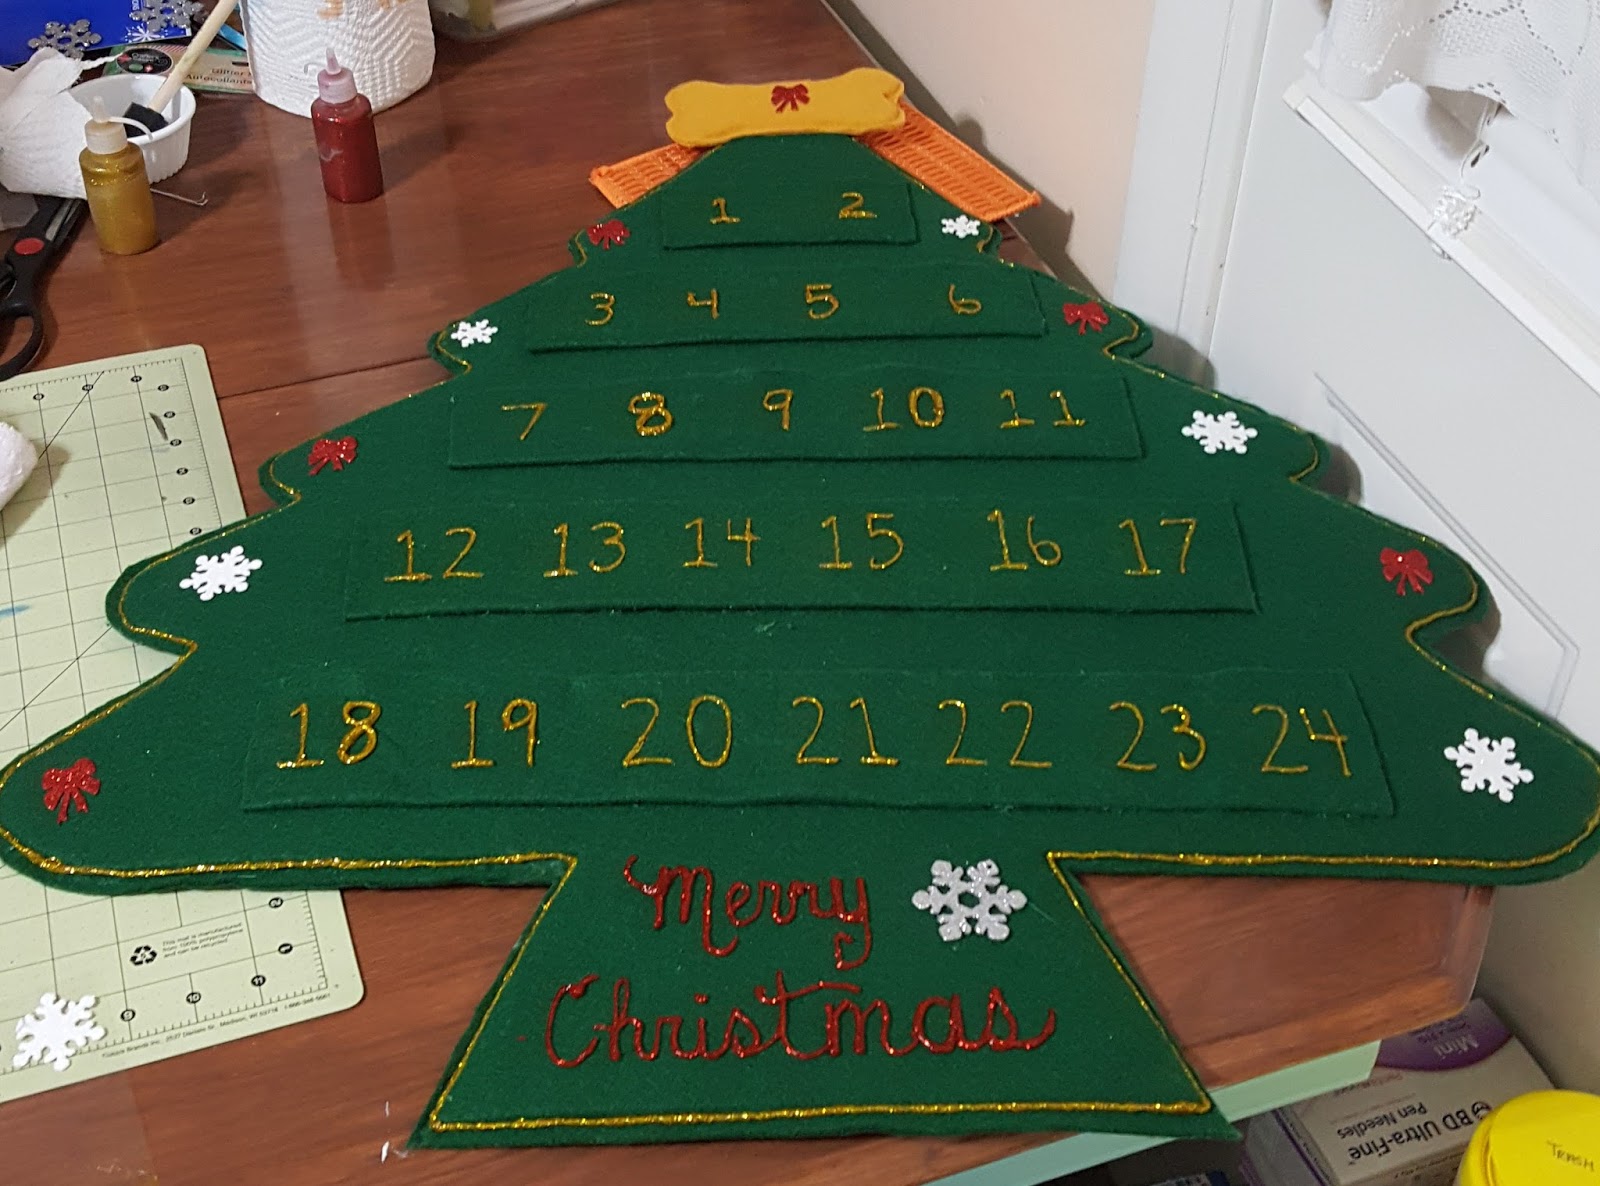
Finished product!
My niece wanted a "Doggy" advent calendar but you can make it for Children too. This one has a bone for the star but you can make a star if you want to do it for children.
No comments:
Post a Comment